

In our family it is a tradition to have baskets of nuts available for guests to enjoy. Truth be told, I never really liked eating the nuts, but cracking them was a whole other story! Lucky for me, I had a very loving grandfather who would eat whatever nuts I would crack open, so I have fond memories that involve mixed nuts and the holidays.
Nowadays, while I don't like to eat the nuts, I still like to incorporate them into my holiday decorations! So the other day, I whipped up this Nut Garland.

The whole project was really simple! I started with a bunch of nuts I picked up at my local grocery. These particular nuts (walnuts, almonds and filberts) are sold by the pound, so they're pretty inexpensive!

Then I grabbed my drill, a cheap cutting board* I got at the Dollar Store, and I got to work. This probably wasn't the safest way to do it, but I held a nut in one hand, and using the drill in my other hand, drilled a hole through each nut. I used the drill on top of the cheap-o cutting board since I didn't want to drill too far and gouge my counter top.
*Most people would probably have a piece of scrap wood in the garage they could use instead, but since I live in a tiny NYC apartment and don't have a stash of scrap wood lying around, I ruined a very inexpensive cutting board!

After a lot of drilling, a few split nuts, and a couple thumb scrapes (thanks to a slip of the drill), all of my nuts were hole-y!

So I grabbed a tapestry needle, some brown embroidery floss, and strung the nuts!
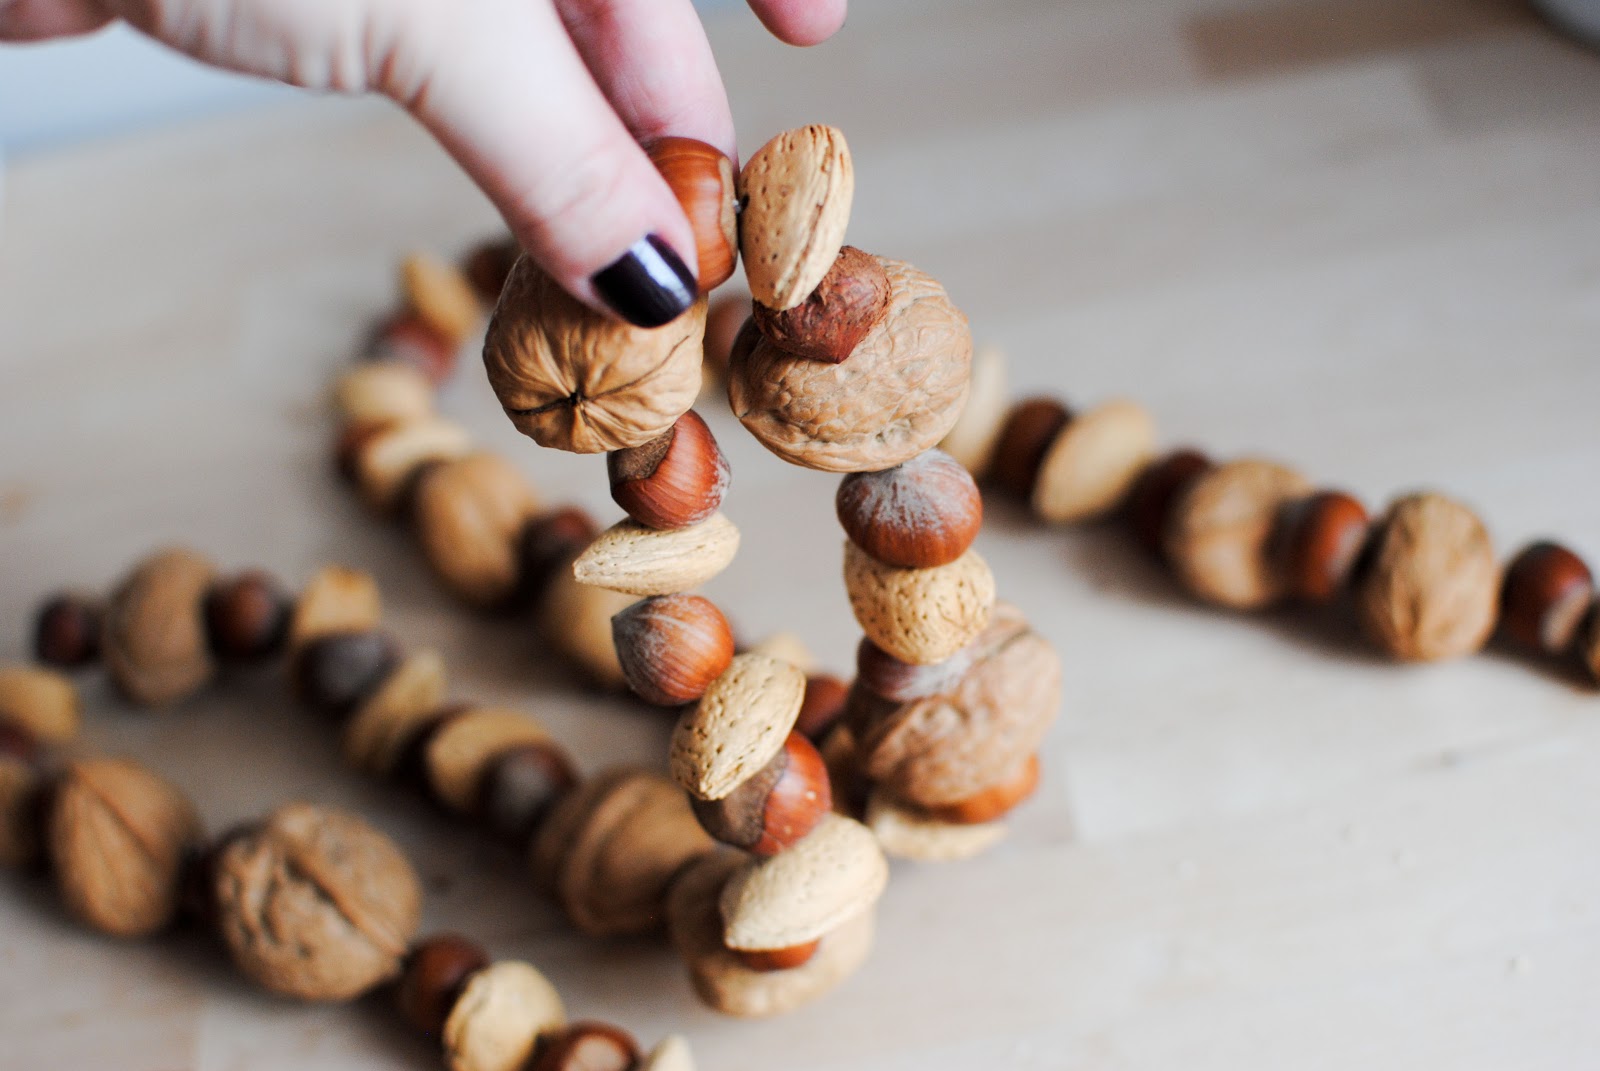
See? I must admit, when I first envisioned this project I had planned to string the nuts and then lay them amongst the candles on the table in a wintry centerpiece: I thought the winding line of nuts would look really cool and would be way easier to deal with than a bowl full of loose nuts piled all over the place. However, once the nuts were on the string I became a little obsessed with hanging the nuts somewhere!

So I decided to leave a few inches of floss at each end of the garland and I tied a simple loop in each end since I thought it might make it easier to hang/use in the future.

This garland can be used for anything, really! Ultimately, I'm going to try winding mine around a mini Christmas tree. However, like any good crafter, I finished my garland before I managed to purchase said Christmas tree, so for the moment the nuts are hanging from some sconces to keep them untangled. Don't worry, this is only a temporary solution... I think...

All in all, I'm pleased to say that this is a really simple and inexpensive project that adds a bit of family tradition to my holiday in a new way- I can't wait to add them to my tree!

NUT GARLAND SUPPLY LIST
Nuts
Drill
Drill bit
Needle
Embroidery floss
Scissors
Do you think the nuts will rot, or can you keep this garland from year to year?
ReplyDeleteHow hard was it to drill through the nuts? Did you think you were going to lose a hand?
I think these are gorgeous and want to make one!